Mixed Media Jewelry

This is a mixed media necklace I made out of a variety of found objects.  I had some bottles left over from the fairy wish necklaces I used to make and of course some of these bits are purchased scrapbooking or jewelry findings.  This gift was for my friend Grey, so that is what is written on the scrap of paper in the bottle.  I think next time I make a necklace like this I will do a tutorial.  I started work on something similar last night.  So, perhaps next necklace will be a DIY for you jewelry types.

Check out that old lock from a long lost vintage diary.  And the little scroll with words is a paper bead.  You can make those too!

I’m not really sure what types of tutorials folks will want, so I will just jump right in next time and take images of my steps.

mixedmediagreynecklace

Mailbox Decoration DIY

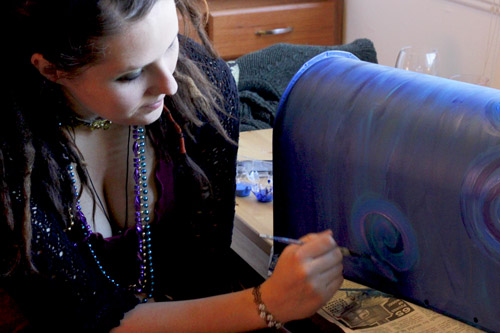
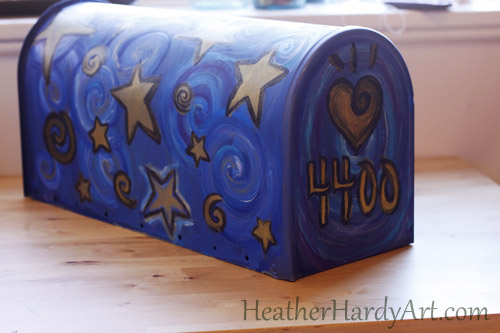
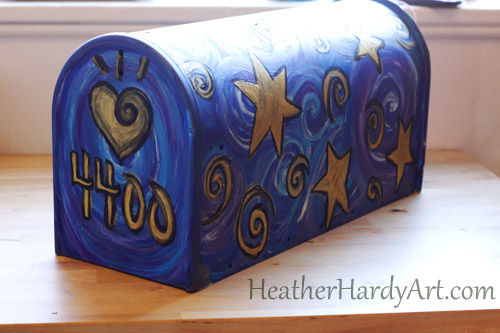
My friend Christiana brought her metal mailbox over for some painting fun.  She wanted some artsy love on it and so we sat down together and worked on it.  She took one side, I took the other and I think it came out great!

Materials:

Metal mailbox
Primer spray paint (paint it the day before so it’s nice and dry)
Acrylic craft paint in black, gold, teal, purple, white and glitter

After the box has cured for a couple of weeks she will be spraying a clear sealant over top of the artwork.  This should be done a minimum of three times, but allowing a good amount of dry time in between.

Also I would like to note that it was Fat Tuesday, so we broke out some of my Mardi Gras beads and wore them in honor of the day.  I never did get pancakes that day!

mailboxDIY1

mailboxDIY3

mailboxDIY2

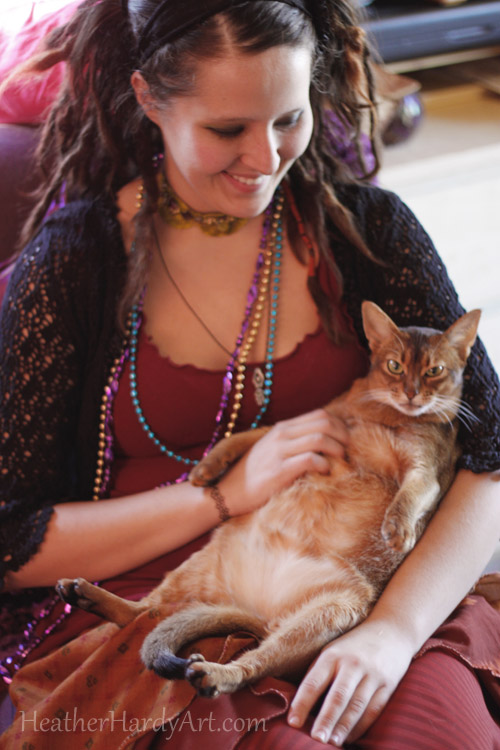
And if you have a cuddly cat, I highly recommend after crafting cat cuddles.  Kali doesn’t seem to object.

mailboxDIY4


Mixed Media Steampunk Necklace

mixedmediagrey

This necklace is made from various supplies including:

Gears and clips found in the scrapbooking section of a craft store.

Old diary lock – the key is missing, but aren’t little locks cool?  You know you have one laying around somewhere that you’ve lost the key to, but you just can’t bear to throw away.

A paper bead I made from an old book.  This up-coming week I am going to be very busy, but the week after I expect to do a little tutorial on paper beads.

Old key and various bits and bobs of beads – I only like real glass and crystals. If you want gorgeous jewelry don’t scrimp and buy acrylic beads.  I know it’s tempting, but the feel and sound is just as important as the look!

I also use metallic paints – my favorite metallic paints I rub onto crafts and jewelry is Lumiere by Jacquard.  In fact that is my favorite paint for painting on clothing, textiles and other things too.  It’s a pretty versatile medium bodied paint that works well on lots of crafts and arts.  Occasionally I have not screwed the lid on tight and it’s gotten very pasty – but I like that too because if you use it on a canvas or a box you can build up the paint and embed things in it.

I got the “Joy” finding and the chain at a clearance stand in A.C. Moore for $1.66 per pack of jewelry.  The “Joy” had other things on the card with it so it was a real bargain.

I used a little bottle – just push the wire through the cork – put some glue around the lip and it stays pretty well.  Be sure to loop the wire at both ends to keep the wire in the cork.  And then Will wrote “Grey” on one side of a piece of paper and “Perfect” on the other – which really is a personalization for the person this gift is for.  For paper he used the blank border of one of my vintage books  that I use for mixed-media.  He can write smaller than me.  It’s quite tiny.

Heather

Elegantly Vintage

achokerwithrhinestones

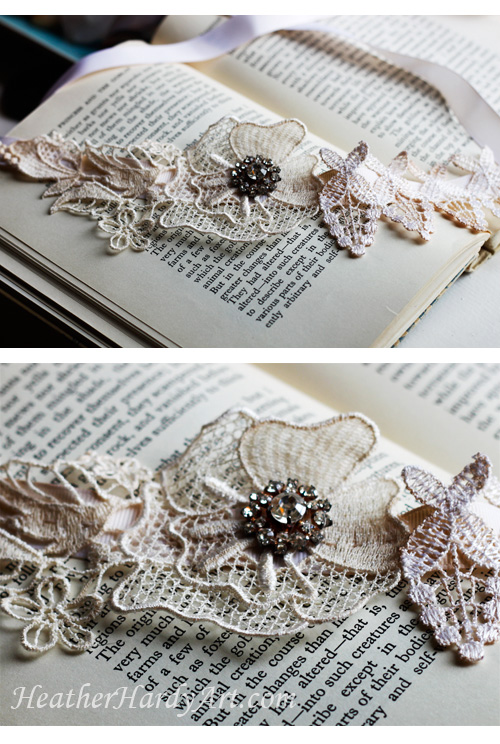
What do you do when you have different bits of lace that you like, but they are not symmetrical enough to make a choker?  You make the choker anyway.  Just balance it out!

This was two pieces of lace I enjoyed and a vintage bit of broken rhinestones (I reckon they called it paste back then).  Tea stained lace, sewn to tea stained grosgrain ribbon (I always want to say gros-grain – with the “s” sound – and sometimes I forget the s is silent – derp) and just put the rhinestone bit on top.  Simple.  Lovely.  Fun.

Delicate Textile Neck Jewelry

chokerlucy

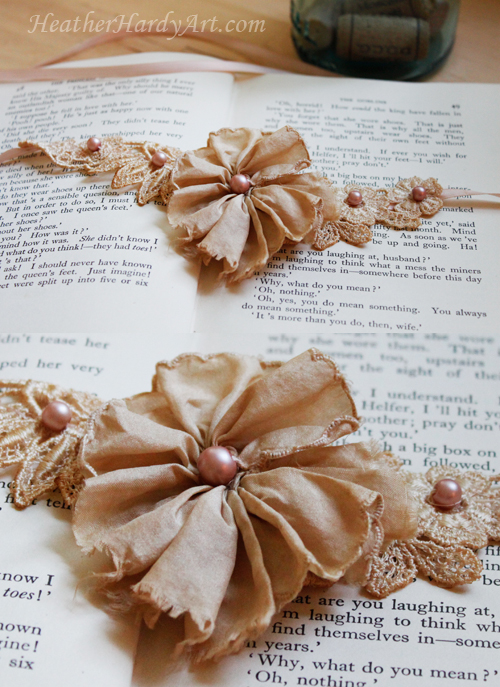
This choker was made with tea-stained vintage lace bits and a silk hankie.  I love the pearls of various colors that can be so easily found these days.  I prefer the glass ones that have a pearl finish because they are heavy and seem nicer than the more plastic variety.  If you make something elegant looking, you want it to *feel* elegant as well.

The choker was made for a young woman of very dainty and delicate features – it suits her.

If you are making something like this as a gift the things to keep in mind is what is the person’s fashion sense?  What colors do they love?  What colors look good on them?

The nice thing about these chokers that are not clasp but tie is that they can be worn on the wrist as well.


Duct Tape Up-Cycle

ducktapesuitcaseglasses

ducktapesuitcaseglasses2

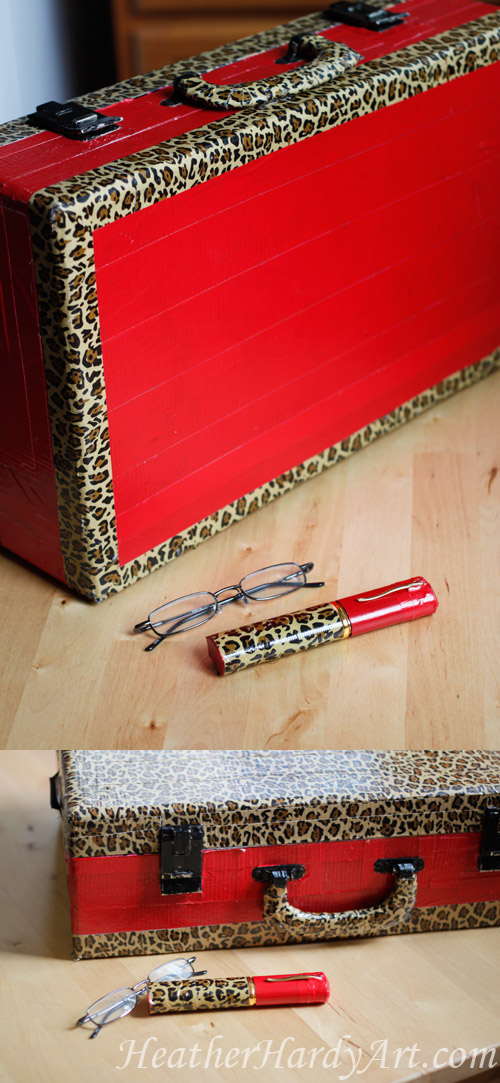
This is a vintage suitcase and a drug store pair of reading glasses that came with a case.  I used Duck brand duct tape from A.C. Moore Arts & Crafts.

The suitcase was a flea market find and probably from the 50s or 60s – it’s got WOOD sides!  Which made it quite sturdy.

This is a very fashionable way to carry around your art supplies!  I get lots of compliments on it.

Some people like to cut the tape out with X-acto knives.  I actually have found that the non-stick (Teflon coated) scissors are the best thing for working with duct tape.  The sticky stuff on the back of the tape simply does not stick to the scissors which makes all the difference in the world when doing any duct tape project.

The only place I used the knife was around the hardware.

Cut the tape into strips and be sure to overlap, to makes sure there is good coverage and security.

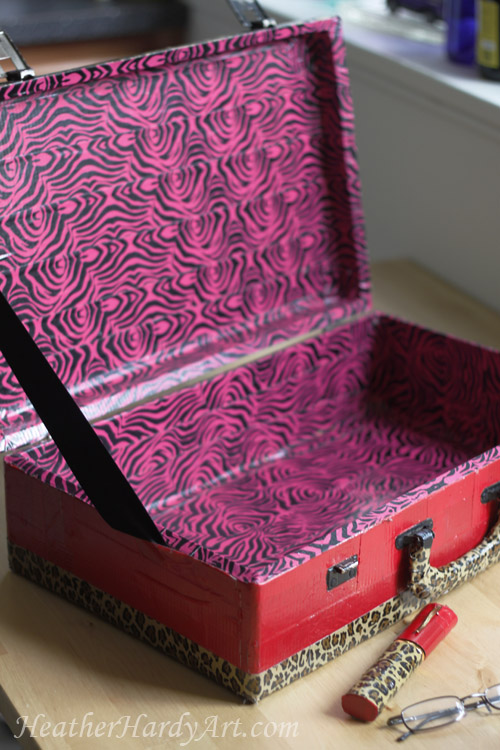
I added in a ribbon so the case would sit open without flopping all the way open.   This is a good space saver, especially if you are sitting at a table and have your case open and want to dig around in it for pencils or a sketch book.

For the glasses case I simple covered the case in smaller, thinner strips.  Tip:  Cover the top and bottom first, overlapping onto the sides and THEN wrap around the rest of the case.

So cute and personalized!